Home > Manuals > F3 HD Media Server > Configuring the F3 HD
Configuring the F3 HD
After installing the server, configuration settings can be applied to the system. This configuration starts with the network and ends with scheduling the system tasks.
Configuring the Network
Once booted, the F3+HD will pull a DHCP
address. To find the F3+HD on the network, load this page for quick access to the Web Server for configuration: http://www.request.com/findmyserver

When the
Server Find page loads, it will search the network for ReQuest servers and
list them. Select the F3+HD and click on "Web"

The Web Server will automatically load in the browser so you can set it for a static IP. 
In the Web Server, click on Settings and select Network from the drop down. Follow our Network page guide for setting the IP address for the server. For assistance on finding a static IP, view our Server Network Configuration Guide.
| Running a Software Update |
||
 |
After
setting up the unit with the desired IP, run a software update. This
can be done by selecting Functions from the Settings drop-down. If there is a software update available the system will prompt to install the new version. Otherwise a message will appear indicating that the software update was not found. | |
Configuring NAS Devices
|
|
| After install the NAS device(s) on the same gigabit network switch, configure the NAS device in the F3+HD web server. This can be done by selecting NAS Storage from the Settings drop-down. For guidelines and detailed instructions, follow our NAS Guide. |
Setting up an ARQLink Account
|
||
 |
Using the ARQLink Consumer Management Manual, create an ARQLink account. |
|
 |
Using the ARQLink Dealer Management Manual, add the new account to the Dealer ARQLink account. |
|
| Configure Additional Settings |
||
| |
Connect
to the web server of the F3+HD using the IP address you previously
configured by opening your internet browser and in the address
bar type in the IP address of the unit. In our example, type in
192.168.1.50. |
|
|
Once the page loads, navigate to the bottom and press Settings. |
|
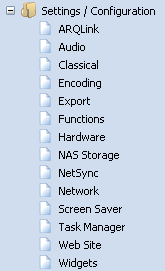 |
Using the Serious Play OS manual for the web server settings, adjust settings following this recommended order: | |
See also