Home > Manuals > Media Players - IMC and MP > Installing the IMC
Installing the IMC
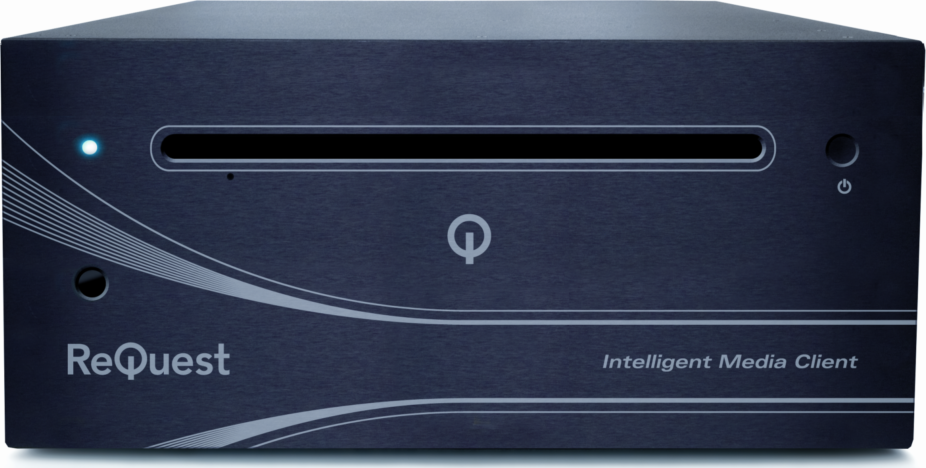
| Front of IMC | ||
| ||
 |
Power Light - Illuminates BLUE when IMC is powered on. | |
| |
IR Window - Area on front of the IMC where infrared (IR) signals are received from IMC or third party (programmed) remote control. | |
 |
DVD Slot - Slot to insert DVD movies to play back and archive from the IMC. | |
| |
DVD Eject - Pinhole opening to manually eject the DVD. IMC must be powered on for this to function. | |
| |
Power Button - Press to turn the IMC on/off. | |
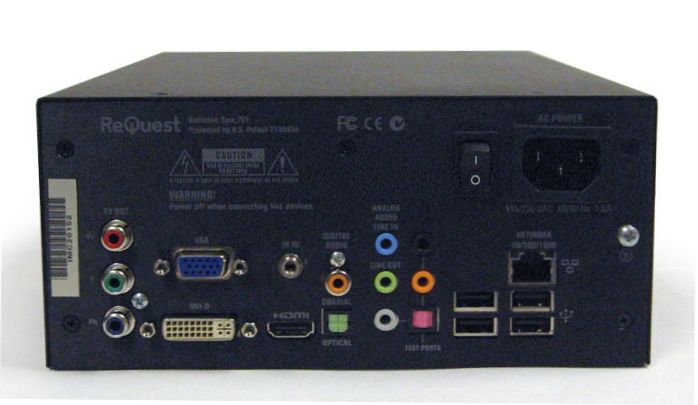
| Back of IMC | |||
 | |||
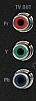 |
Component Video - Used to display the on-screen GUI for the IMC. | ||
 |
HDMI - Used to display the on-screen GUI for the IMC and play audio. | ||
 |
DVI - Used to display the on-screen GUI for the IMC. | ||
 |
Digital Audio Out- Coaxial and Optical connectors for digital audio (movies and music). | ||
 |
Analog Audio Out - Mini-stereo connector for analog audio (movies and music). | ||
 |
Analog Audio In - Mini-stereo connector to pass analog audio in from F.Series or iQ system. | ||
 |
IR In - Connect to IR receiver or control system for extended IR control. | ||
 |
Ethernet Port - Connect IMC to network (required for operation). Gigabit connection highly recommended. | ||
| | Power Switch - Switches power on/off. Must be in ON position for front power button to work. | ||
 |
Power In - Power input (using supplied power cable). | ||
   | Unused Connectors - The VGA, USB, pink digital audio, as well black, gray and orange mini-stereo connectors are not used. |
||
| Installation |
|
| Initial Start-Up | ||
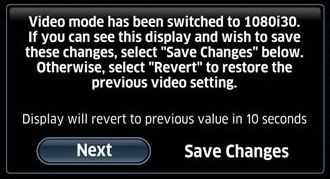 | When the IMC is first turned on, the IMC will begin to automatically cycle through different video modes every 15 seconds. Confirm the mode that works best with your TV. The connected TV will display a message that the "server was not found" or "this panel is not configured". Close this dialog to proceed. | |
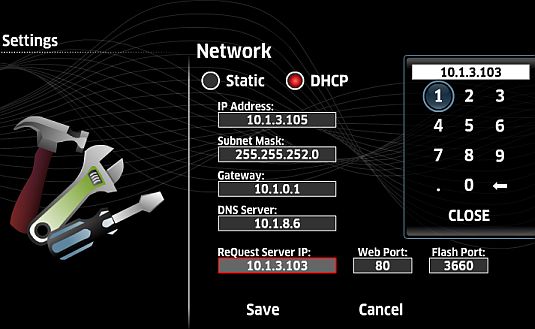 | fter
the video mode has been set, the next thing to do is set the IP address
of the F.Series or iQ server that the IMC will be working with. Move your cursor down to the ReQuest Server IP box. Enter the server's IP addressing using the onscreen keypad. Click on Close then Save and your IMC will reboot. After the reboot, the IMC will be configured and ready for use! | |
| Configuring the IMC when Connected to an iQ System | ||
 | Access the iQ systems web server by entering its IP address in your web browser. | |
 | Click iQ Configuration on the bottom of the page. | |
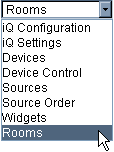 | Select Rooms from the drop down. | |
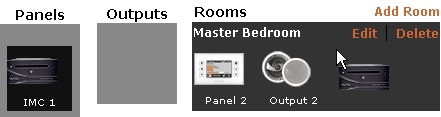 | Drag and drop the IMC into a Room. Ideally you would drag it into the room that the IMC would by default control. | |
For installation specific settings, see Settings on IMC section.
See also
Installing the Legacy MP V1
Installing the MP V2
Installing the Sony Blu-ray Changer
Integrating MP and IMC into 3rd Party Control Systems
Using the MP and IMC Hardware
Playing or Controlling iQ Music on the MP and IMC
Playing F.Series Music on the MP and IMC
Playing Videos on the MP and IMC
Settings on the MP and IMC
Browsing Photos on the MP and IMC
Browsing Widgets on the MP and IMC
MP and IMC FAQ
MP and IMC Troubleshooting
Differences Between MP V1 and V2